Preserving your digital memories
With the holidays fast-approaching, it’s the perfect time to reminisce about get-togethers and good times spent with family and friends. These memories are often captured in photographs; from the physical prints that you put in an album, to digital images captured on your phone or camera. Collecting and preserving these types of images is a big priority for the Museum, but there are some simple steps you can take to make sure your personal memories are kept safe for future generations too.
Born-digital photographs
Images that are created digitally are called “born-digital”. This means they exist as a digital file, and are usually stored on your computer, digital camera, or phone memory. Many of us have experienced the frustration of a file not opening, or getting lost as you transfer to a new device. You may even still have files on floppy disks! These types of “born-digital” files are a much bigger preservation risk than a physical photograph, and it is important to organise your digital images and make sure they are backed-up in different locations.
Step 1: Locate
Do you have photographs saved in multiple locations, such as an external drive, USB, or SD cards? Which photographs are most important to you? (Do you really need to keep 500 photos of your cat forever?) Listing the locations of your important digital memories will help you back-up those images in future.
Step 2: Organize
Everyone has their own way of organising their digital files, but choosing consistent filenames and folder structures will make preserving your photographs much simpler. Perhaps you save your images in folders by year or event, or include the date in the filenames. Using the “yyyymmdd” date format at the beginning of your filename will also help you organise chronologically:
e.g. “20110431-JanesBirthdayParty.jpg”.
Any type of naming system and folder organisation is an excellent step in identifying the context of your photographs.
Step 3: Back-up Storage
For digital preservation, it’s a good idea to keep in mind the 3-2-1 rule: 3 copies of your important files, on 2 different types of storage device, with 1 copy stored in a different location. This could be as easy as saving your images on a home computer and a labelled hard drive, with a remote copy on cloud storage, such as Google Drive or Dropbox.
It is important to remember that digital storage devices can fail or become obsolete - wear and tear, dust, and heat can all have a negative impact over time. This means you should spot-check and open some of the files on your computer at least once a year, and transfer files to a new external hard drive every 3-5 years if possible. This is called “actively managing” your digital collection!
Scanning your photographs
As well as your digital photographs, you will probably have a collection of physical prints - stored in albums, picture frames, or a shoe-box under the bed! Physical photographs are also susceptible to deterioration, but one way of preserving these images for the future is to scan and “digitize” your photographs.
There are many companies who can do this work for you – try searching for photo scanning or digitization services in your area. These digital files will usually be delivered on a CD or USB, which you can then add to your digital collection and follow the steps above. Finding a digitization company is also preferable if you want to scan negatives or very old photographs.
If you have your own scanner, you could decide to make a project out of digitizing your photographs. Enlist the help of family members to search their own collections and scan these photographs over the holidays. Looking through these photos may bring back many personal memories, and writing your recollections down is an excellent way to provide background information for the images.
There are some technical steps to consider if you do decide to digitize your photographs:
- Use a flat-bed scanner instead of an automatic feeder, to make sure your photos don’t get caught in a jam.
- Remove photos from frames for better quality images.
- Choose the highest quality settings on your scanner - for digital preservation, between 300 dpi and 600 dpi (dots per inch), and 3000 pixels on the short side, is a good resolution setting for most standard photograph sizes.
- For small photos, such as passport-sized or Polaroid, you may be better choosing 600 – 800 dpi.
- For black & white photo scanning, choose “greyscale”. For colour photographs, you should scan in colour.
- Ensure that the scanner glass is clean and smudge-free. Use a plain, lint-free cloth dampened with water. Don’t spray any liquid on the scanner itself.
- Place a white or grey sheet of paper behind the photograph on the scanner bed, to make sure your images have a plain background.
- Line up your photographs evenly using the edges of the scanner bed as a guide. Many scanners allow you to preview and choose the exact area you want to capture. Do a test scan to make sure it all looks good!
- Choose TIFF or JPEG as the file format when you save. A TIFF file takes up more space than a JPEG, so that will affect your storage space.
- Decide on descriptive file names that will make it easier to identify your photos – you could name your scans by event, by person, by location, by year.
- Scan the back of a photograph if there is writing there, and name that file in a way that is related to the front of the photo; e.g. “20110431-JanesBirthday-front.jpg” and “20110431-JanesBirthday-back.jpg
If you keep these tips in mind, you’ll be able to create a digital photo album that you can share with family and friends for years to come!
Preserving digital memories at the Museum
Digital preservation is on-going, active process that involves many people working together to ensure that digital content is kept safe for the future. Once the Collections team at the Museum accepts a digital donation, the files are checked for quality, catalogued and described, then stored on multiple types of digital media, as well as two off-site locations.
We make sure to save the highest quality version of the image as our “preservation copy”, and we generate a kind of digital fingerprint for each file so that the images are not changed or altered over time.
We also create a lower-resolution “access copy”, which may be added to our online collections database. This means that the public can search and uncover these images for their own family or historical research.
Preservation and access go hand in hand, as we collect and store content so that it can be viewed and enjoyed by generations of Canadians.
Recently, we have started a project to further ensure the safety of your digital legacy, by implementing a system called Preservica. This allows us to efficiently manage the huge quantity of digital images, oral histories, audio, video, archives, artifacts and written stories in our collection, documenting the lived experiences of immigration to Canada. We hold these resources in trust for the benefit of future generations, while providing ways to interact with the collections. Preservation is never a one-time process, and by actively monitoring our digital collections in this way, we aim to make sure these memories can be accessed forever!
Would you like to donate your immigration photographs, documents or stories to the Canadian Museum of Immigration at Pier 21? Please get in touch with us via email at collections@pier21.ca
Digital family photographs which have been preserved in our collection:
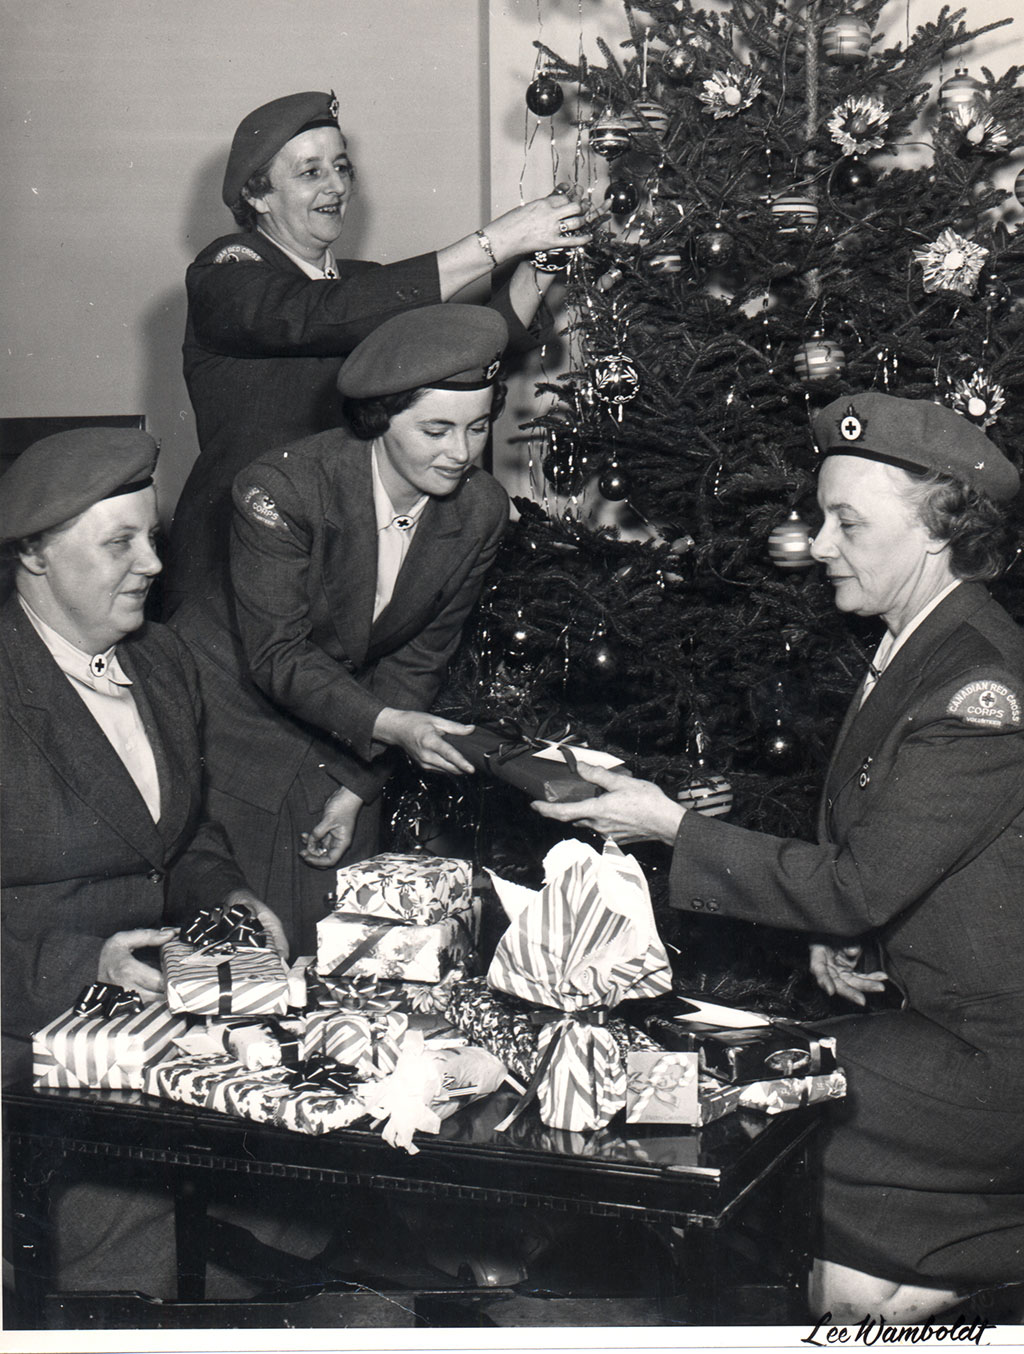
Credit: Canadian Museum of Immigration at Pier 21 [DI2014.222.7]
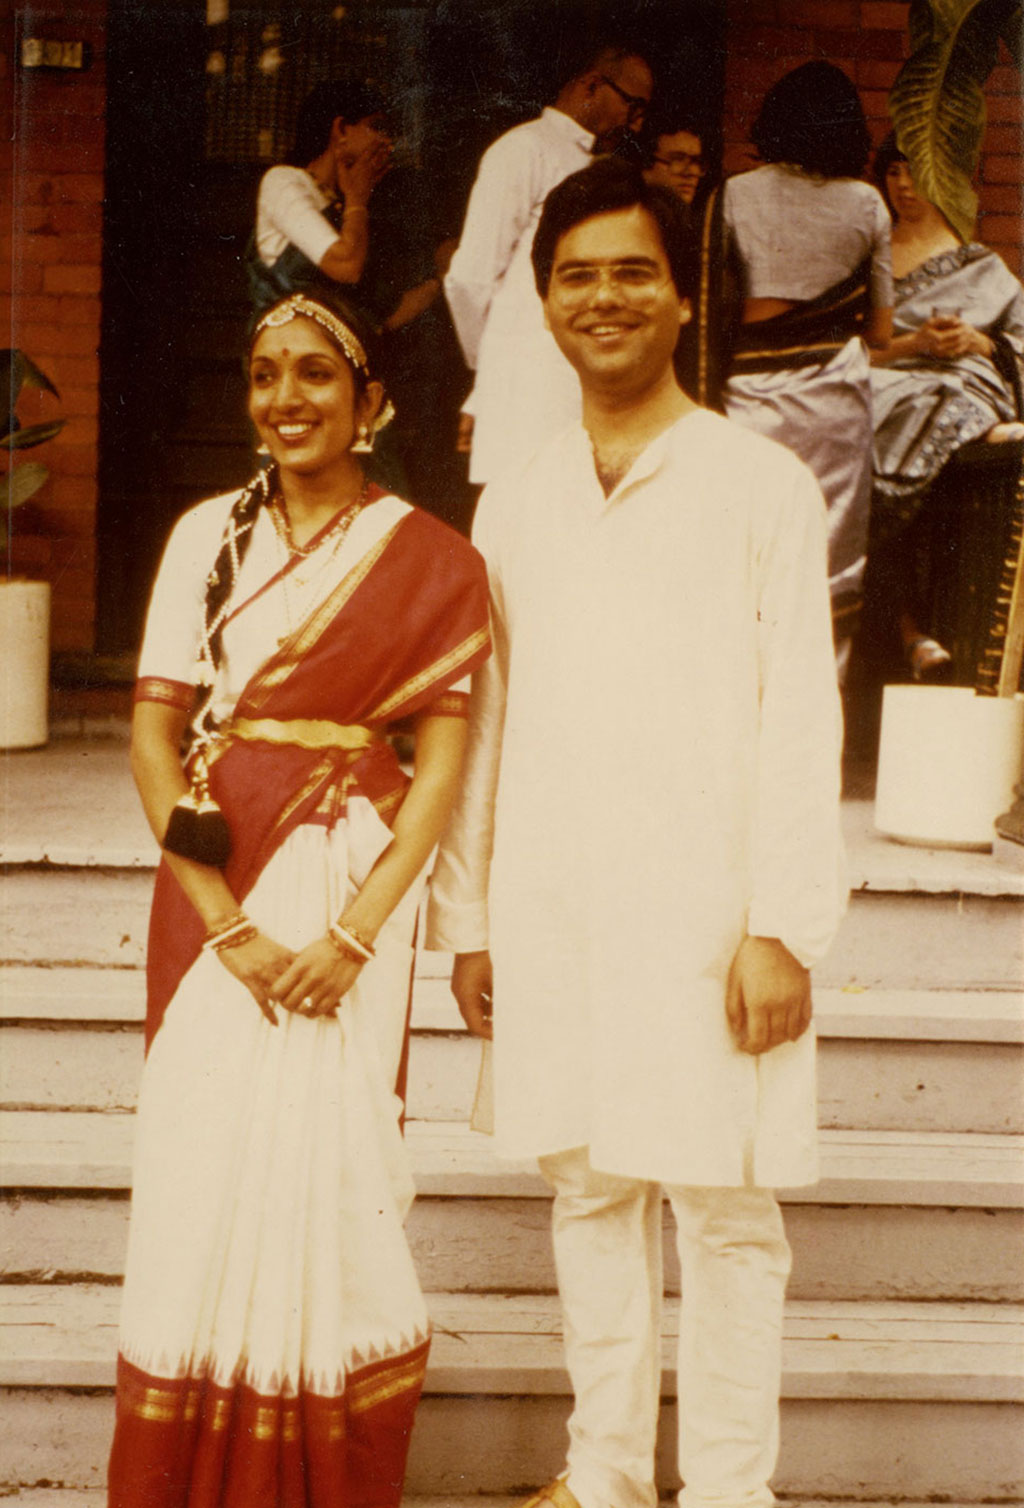
Credit: Credit: Canadian Museum of Immigration at Pier 21 [DI2019.24.8]
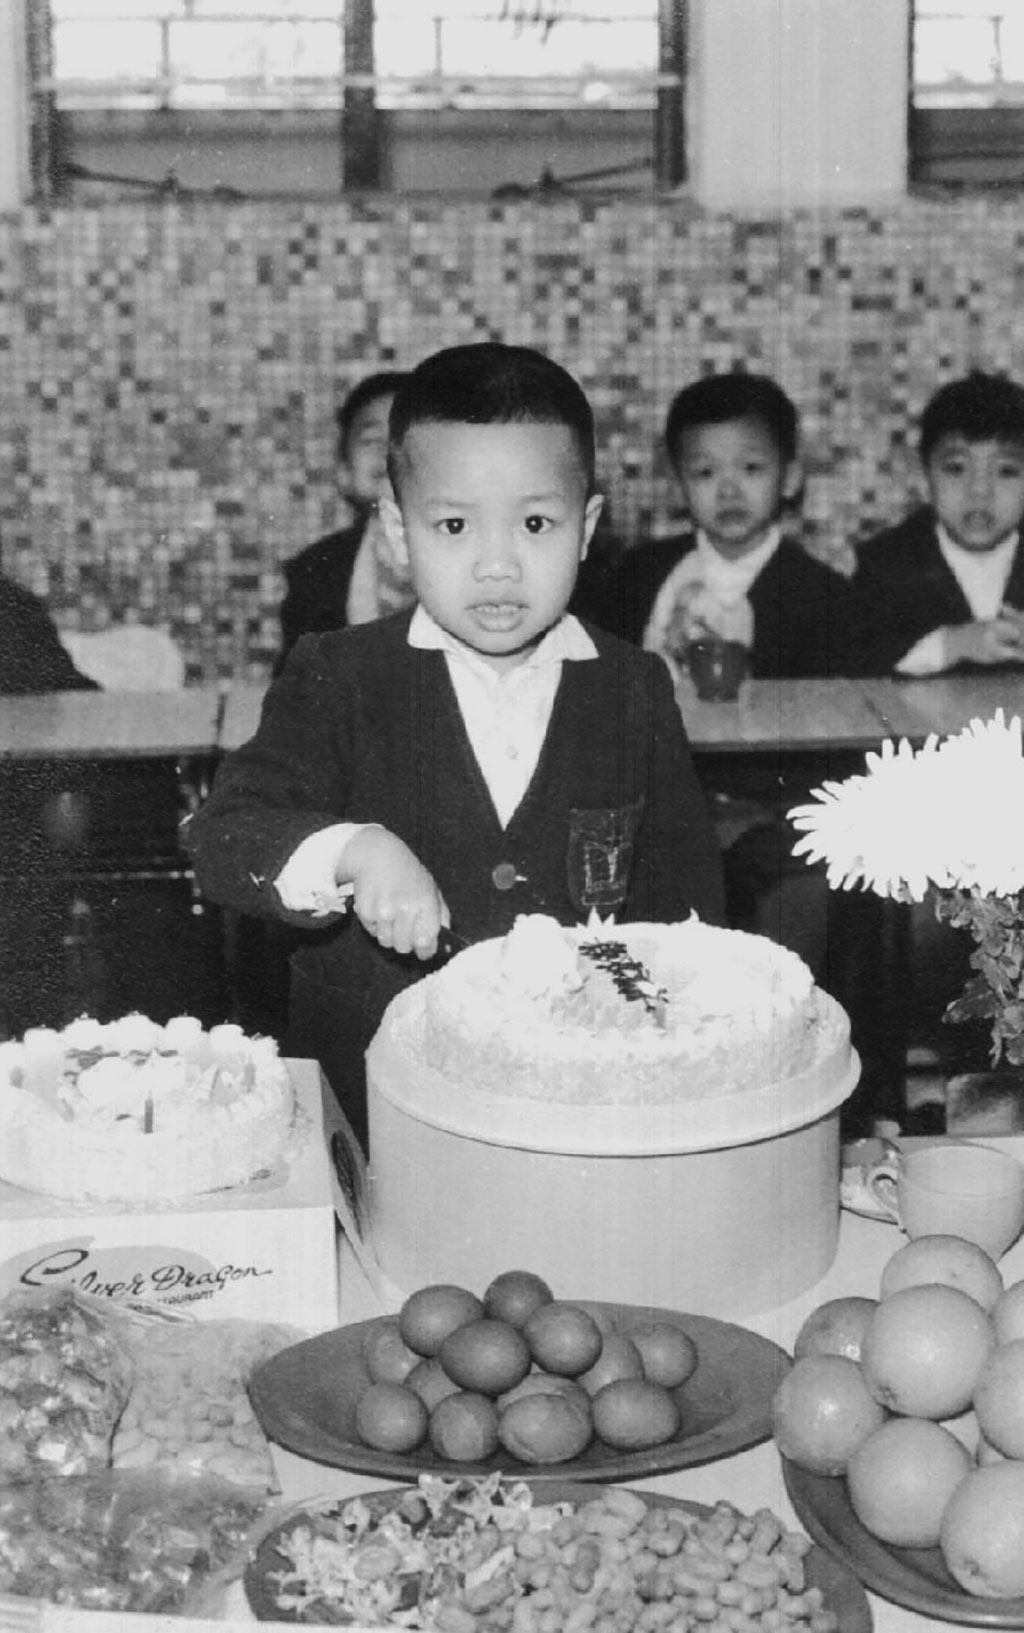
Credit: Canadian Museum of Immigration at Pier 21 [DI2016.166.10]

Credit: Canadian Museum of Immigration at Pier 21 [DI2019.177.3]
Further Resources:
Digitization at Library and Archives Canada: https://library-archives.canada.ca/eng/collection/basics/Pages/using-collection-search.aspx
DPC - “Personal Digital Archiving”: https://www.dpconline.org/docs/technology-watch-reports/1460-twr15-01/file
Library of Congress - “Personal Archiving”: https://digitalpreservation.gov/personalarchiving/
Library of Congress - “Personal Digital Archiving Day Kit”: https://digitalpreservation.gov/personalarchiving/documents/PADKit_v1.pdf
Library of Congress Blog - “Taking Inventory”: https://blogs.loc.gov/thesignal/files/2016/05/pda_inventory.pdf
Library of Congress Blog - “You Say You Want a Resolution: How Much DPI/PPI is Too Much?”: https://blogs.loc.gov/thesignal/2013/07/you-say-you-want-a-resolution-how-many-dpippi-is-too-much/
Library of Congress Blog - “Your Personal Archiving Project: Where Do You Start?”: https://blogs.loc.gov/thesignal/2016/05/how-to-begin-a-personal-archiving-project/
Library of Congress YouTube - “Introduction to Scanning”: https://www.youtube.com/watch?v=HqGuI6gkurA
National Heritage Digitization Strategy - “Digital Preservation File Format Recommendations”: https://www.canada.ca/en/heritage-information-network/services/digital-preservation/recommendations-file-format.html
NDSA - “Family Digital Preservation Project”: https://ndsafamdigpres.wordpress.com/
Public Libraries Online - “Personal Digital Archiving: Adding Descriptions to Digital Photos”: http://publiclibrariesonline.org/2013/09/personal-digital-archiving-adding-descriptions-to-digital-photos/
Public Libraries Online - “Personal Digital Archiving: File Names”: http://publiclibrariesonline.org/2013/06/personal-digital-archiving-file-names/
Purdue University - “Digital Preservation: The Basics”: https://guides.lib.purdue.edu/PDA
Heather Walker
Heather Walker is the Collections Coordinator at the Canadian Museum of Immigration at Pier 21. She has a background in AV production, and is a graduate of the Master of Information programme at the University of Toronto, with a concentration in Archives and Records Management.